As a result, we do a lot of projects during this time. I've been searching for fun Fall projects, and we've been trying out different things. Can I just say "Halleluiah for Pinterest"!!
Here are a couple of things we've done this Fall!!
Leaf Art
We started by dividing a white sheet of paper (we used computer paper) into six squares. We made the lines to separate the squares using a Sharpie. Next, using a pencil, Buttercup drew the leaves. I taught her to draw the veins first and then make the leaf around. It was hard at first, because she was used to drawing leaves the other way around (making the outline then filling in the leaf). But she got the hang of it and I can see an improvement in her drawing.
.JPG)
We outlined the leaves with Sharpie, then Buttercup painted each leaf in warm, Fall colors.
.JPG)
Finally, she painted the background of each square in a pattern of blue, green.

.JPG)
Falling Leaves on Wood
.JPG)
I thought this project was super cute and pretty easy to make.
Materials:
- 8" x 14" piece of wood, 1/2" thick. This was what I had lying around. You could use a different size.
- Wood stain.
- Paper or plastic leaves.
- Make sure the wood is sanded (we don't want to get splinters!)
- We glued the fall colored leaves on the wood in a "falling pattern"
- Once the glue dried, we covered everything with a coat of wood stain
- We let it dry for 24 hours.

Fall Door Hanging

Materials:
- Leaf foam cutouts (the writer used pre cut leaves and letters, but I didn't have that, so I used the templates from her site. I must say it worked out very well.) We used red, yellow, orange and purple (didn't have brown)
- Letter foam cutouts (used the template from All Kids Network
- Glue
- Scissors
- Ruler
- String
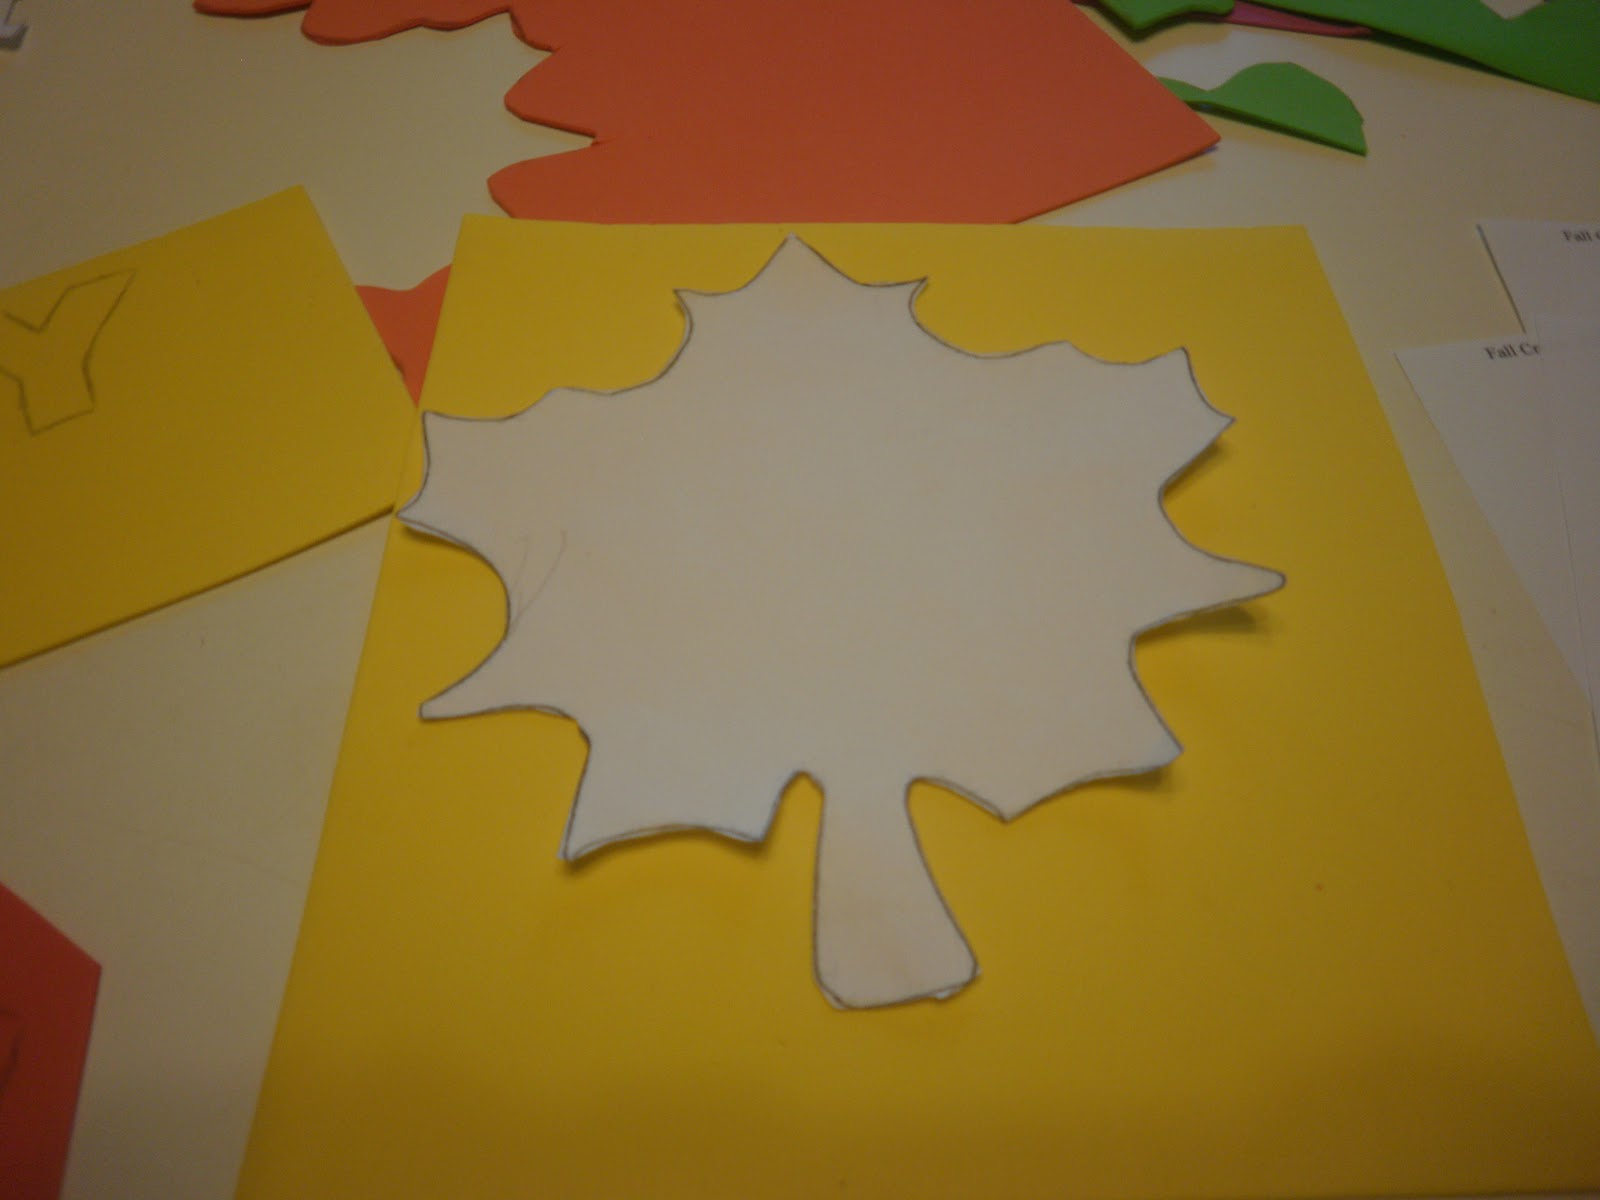
- I printed and cut out the leaf template and the letters.
- I taped the leaf to a piece of foam and let Buttercup trace and cut 4 leaves.
- I used the letter template to cut out foam letters.
- Cut out a 4" x 8" foam rectangle.
- Glue the letters HAPPY onto the rectangle.
- Glue a letter on each foam leaf (FALL).
- We hole punched the foam and tied string to each component to hold it all together.


Happy Homeschooling Adventure!
great ideas!! I love days at home doing crafts--but then I have to force myself to go out of my house! lol...
ReplyDelete