NavAO

Thursday, April 18, 2013

Encouraging creative play!

So Buttercup has been talking about her stuffed animals' birthdays! Actually, only to of them. One is a tiny dog she named Glancy. The other is a tiny unicorn named Magic. If you've been reading this blog you know that Magic was the recipient of that very cute cardboard house that Buttercup and Daddy made just for her.

Back to the story. Buttercup picked some of her toys and gift wrapped them for Glancy and Magic. I initially didn't pay too much attention , but Buttercup wouldn't let up.

Finally, this week, I told her we should throw them a party. Buttercup was thrilled. We picked a day when everyone would be home for the evening. Then we set out to plan a party.

Here's what we did:


  • We made handmade invitations for each member of the family
  • We "delivered" the invitations
  • We planned party games(pin the tail on the unicorn and bingo, with prizes)
  • We baked a cake
  • We printed out pictures of Glancy and Magic and used them to decorate the dinner table
  • We decorated the dining room with streamers


After dinner we played games and then sang happy birthday and had some cake.

At first, everyone thought we were silly. The resident teenager even mocked us and didn't want to participate. But once we got started everyone had fun, even the teenager. Go figure.

I wanted to tell you a little thing about me. I didn't play like this growing up. I don't really remember having a great imagination and creating fantasies like Buttercup does. We grew up running around barefoot outside with our friends. Parents didnt play with thir children and that was fine with us. We just wanted to be with our friends, it made sense that way. It was a different world then. Nowadays with scheduled play dates and danger lurking everywhere, parents need to do things differently. So I actively participate and even encourage Buttercup's games. Why not. She loves it. We're together. I am giving her memories to last a lifetime.

She won't remember me buying her lots of things, but she'll never forget Glancy and Magic's birthday party!

Dream. Imagine. Create


Thursday, March 14, 2013

2nd grade art lesson - Piet Mondrian

We are fully engaged in art lessons in our homeschool. Buttercup and I love learning about different artists and new techniques.

We recently read about Piet Mondrian and tried some art work of our own using some of his techniques.

Our lesson included:

  • Reading a simple biography. (When I say simple, I mean a book written for children)
  • Looking at the artist's work in a book or online.
  • Discussing the artist's technique and what we like/dislike about it.
  • Doing a word search puzzle which we found at www.makingartfun.com (This has become one of our favorite websites! More about them later)
  • Making our own Mondrian inspired art work.
 
 
Mondrian Inspired art work
 
Materials:
  • 1 sheet of white computer paper
  • a few sheets of construction paper in black, red, yellow and blue
  • Ruler
  • Pencil
  • Scissors
  • Glue
 
Instructions:
  • Measure and cut a few strips of black construction paper in different widths. We used 1/2 inch, and 3/4 inch strips
  • Place your strips on the white paper. Arrange them any way you want.
  • Cut squares and rectangles in different sizes to place between the strips over the white paper.


About Piet Mondrian

Piet Mondrian was born in Amersfoort, Netherlands, in 1872. At a very young age, his father Pieter introduced Piet to art. In 1892, Mondrian entered the Academy of Fine Arts in Amsterdam as a teacher. While there, he continued to work on his own paintings, most of which were landscapes and pastoral images of Holland. He was initially influenced by the pointillist and fauvist movements. However, in 1911, Mondrian discovered Cubism which led him toward abstraction. As early as 1912 when he painted The Sea, it can be seen that his art work began to be dominated by geometric shapes.  Mondrian continued to explore abstract forms eventually developing a style he called neo-plasticism.

It was during his time in Paris after the war, where he painted one of his most famous paintings, Composition with Red, Yellow and Blue.  Piet Mondrian died of pneumonia in New York City on February 1, 1944.


Happy Homeschool Adventures!!

Tuesday, March 5, 2013

Visiting Museums with Kids. It can be done!

If you love museums and want to teach your kids to appreciate art at an early age, please read on.


I hear all the time (from friends, families, and readers)that taking young children to museums can be a daunting task. I've even heard a family member say that she will not step into a museum until her kids are teenagers. Well, by that point, it's too late, you might as well forget about it. Kids need to be exposed to various situations in order to learn appropriate behavior as well as an appreciation for things other than the Internet, Facebook, and Twitter.

Download my Museum Scavenger Hunt FREE!

Kids CAN go to museums and actually enjoy them. Kids SHOULD learn to appreciate art and to behave according to their surroundings when they are still young. I think parents' big mistake is to shield kids from these places and experiences out of fear. Instead, both parents and kids would benefit from this exposure. Parents will take pride in the fact that their kids are well behaved and well rounded individuals with multiple interests.


Explore
All of that said, I strongly believe that kids need guidance and structure when visiting places like museums.

Both of my daughters love art and visiting museums; I've been taking them since they were two years old.


Inspire
Here are some tips to make a museum visit an enjoyable experience for parents and kids alike:
  • Plan ahead
  • Get the kids involved (it makes them feels important)
  • Talk about the place you'll be visiting and what they'll be seeing
  • Do some research and choose a few of the art works on display to show the kids while still at home (this will get them excited for the visit)
  • Talk about artists (this can turn into a mini lesson!)
  • Take along a scavenger hunt (this gives kids purpose and they'll be excited when they find the items on their list) Print mine free here! or make up your own
  • Stop by the museum store BEFORE the visit and let your kids pick out a post card or two of art work. Then tell them they have to find those in the museum.
  • Know your kid's limit; if you see they are losing interest or getting antsy, it's time to leave
  • Bring a drawing pad and pencil and encourage your child to observe a favorite picture and draw it
  • Ask pointed questions about some paintings(this gets kids thinking)
  • Check with the museum if they offer their own scavenger hunt or other kid activities(many museums do). We recently visited the Metropolitan Museum of Art in NYC and they had a short guided tour just for kids with a hands on activity at the end. My daughter loved it.


Encourage


Envision
I have created a museum scavenger hunt that can be used in almost any museum! Print it here FREE.

Do you visit museums with your kids or are you afraid they'll be bored or misbehave? Share your opinions here!

Friday, February 22, 2013

I'm a Writer! Authors as Mentors Encouraging kids to Write

We recently spent a month doing a lesson on Authors as Mentors. This is where we really delve into one author's work and read several of his/her books, analyze and discuss the writing and finally, try to model our own writing after our author mentor. We did this in our Reading Club and Writer's Workshop.

I did some research on what authors to include and I settled on Tomie DePaola and Patricia Polacco. My older daughter had done this same lesson when she was in school and she loved the Tomie DiPaola books and I still had them so it seemed natural to start this lesson with his work.


·        We reviewed different writing techniques such as simile, alliteration, metaphor, hyperbole, and onomatopoeia.

·        We practiced using those techniques.

·        We talked about Tomie DePaola and we read a brief biography to understand how Tomie became an author and illustrator. We also learned how he comes up with ideas for his stories.

·        I read aloud one of his books and we tried to find some of the writing techniques we had previously learned.

·        In Writer's Workshop, we brainstormed ideas for our own story. We talked about things that were happening in Buttercup's life at the time (ice skating lessons, a visit to her cousins' house, getting our Christmas picture taken)

·        I encouraged Buttercup to write down all of those ideas. For now, we would only pick one, but we agreed that it would be good to keep a list for future stories.

·        She picked a topic and told the story on 5 fingers.

·        Then, she wrote those 5 sentences down.

·        We alternated days in Reading Club and Writer's Workshop; that means, we would read aloud on one day, and do some writing the next day.

      ·        In Reading Club, we read other Tomie DePaola books and talked about writing      techniques that he used in all of the books we read.

·        Some of the things we noticed were:

o   He names the setting within the first sentence.

o   He uses words in Italian.

o   He uses words in bold letters for emphasis.

o   He uses what we call the list of 3 (naming 3 things within a sentence).

o   His stories are about him or things he heard or experienced growing up.

·        Since Buttercup had already written her story in 5 sentences, we went back to edit the story and try to include some of our mentor author's techniques.

·        When Buttercup was happy with her story, we cut out strips of paper (5, one for each sentence of her story). She re wrote her sentences on each strip of paper.

·        She then glued the sentences to the bottom of a bigger piece of construction paper.

·        Next, Buttercup made a drawing to go along with each sentence of her story. As our mentor author is also an artist and illustrated his own books, we thought it would be perfect for Buttercup to illustrate her book too.


Buttercup is so proud of her book. She loves to go back and read it every once in a while. Writing was such a challenge for her because she thought it was boring and never had ideas. Giving her some structure, encouraging her to jot down moments she may want to remember later, and guiding her through the process has made the writing process much easier.


We followed the same process as we read through some of Patricia Polacco's books. And Buttercup wrote another book.

Success!!

Sunday, February 17, 2013

Hands on electronics projects


I recently had the opportunity to do a fun hands on science project with Buttercup. It was an electronics project from www.eeme.co. EEME's hands-on projects teach kids about electronics. Each project is paired with online curricula to not only guide the kids in assembling the project but also to teach the concepts applied.


This is what is included in the kits:

  • A fun indoor activity to do with your 7-12 year old that will teach them something at the same time!
  • A project kit in the mail with all the material needed to build your project (including a breadboard, resistors, circuits, LEDs, battery)
  • A set of online videos that will (1) teach you and your kid how to put together the kit, and (2) explain the electrical engineering concepts behind it
  • Interactive quizzes to test your kid's learning


The whole process was seamless and easy to complete.

We received the kit in the mail; we got Project Genius Light. I then we registered my email on their website. I liked that all they asked for was my email. I wasn't required to complete a long form with all of my information. That was a big plus for me.

Once I registered I was able to access the video instructions for our project. Buttercup is 7 years old, so she is on the younger range of the recommended ages (7-12), and she had no problems whatsoever following the instructions in the video. The two of us worked on it together which is the way it's intended to be.


The instructor is clear, easy to understand and the video is easy to follow. And the best part is that they quiz you throughout the project. So Buttercup definitely learned some good stuff.


The electronics projects available are perfect for homeschoolers since they can be done anytime, with parental assistance, and with video instruction.

Now here is the best part, the folks at http://www.eeme.co have generously offered Adventures of a Homeschool Mom readers an incredible 50% discount on Project Genius Light. All you have to do is send an email to dad@eeme.co with "50% promo - Adventures of a Homeschool Mom" in the subject.

I know you and your child will enjoy this project as much as we did.

Happy Homeschooling Adventures!

Disclosure: I received a kit in order to do the review. All of the opinions in this review are my own. I did not receive any compensation for this review.


Wednesday, February 6, 2013

Russia Unit Study!


Here's my newest unit study - Russia!

I'm so excited about this one because it was a country that was completely new for me. Until I did this unit study I knew very little about Russia; just bits and pieces from Russian students I had in the past combined with some very basic information.

The Russia unit study was Buttercup's idea. I don't know why, but she is fascinated with Russia, so when I asked which country she wanted to study, she did not hesitate to ask for Russia.

In order to prepare for this unit study, I had to do lots and lots of research. I read books and other resource material to come up with an 8 week program that would cover enough information.

We started with some basic information about Russia; location, size, language, currency.

 
Next we read this great book "Introduction to Asia" which had lots of stuff about Russia's climate and different climate zones.
We learned about Russia's favorite pastimes and some of the foods they typically eat.
We really got into the part about music and art and I found a YouTube video of Swan Lake for Buttercup and me to watch. The video was 2 hours long and we watched in 1/2 hour increments, but Buttercup loved it. We would pause to talk about what we thought was happening based on the tone of the music, the dances, the scenery and the dancers' facial expressions. It was a lot of fun and made watching a ballet an interesting experience, that was not at all boring.
Nesting doll template included in unit study

Buttercup's nesting doll activity
 
As the end of the year approached, I was able to find a local production of The Nutcracker ballet, so I took Buttercup. My recommendation for anyone taking their children to the ballet would be to read up on the story before you go; do some activities pre-show. We didn't do that and honestly we were kind of confused about the story. I'm sure we would have had a much better experience had we done a little research prior to seeing the ballet. We still enjoyed it and will do things differently next time!

The Russia unit study is perfect for the classroom as well as homeschool. It covers most subject areas:

·        Math

·        Social Studies

·        Geography

·        Science

·        Foreign Language

·        Reading

·        Writing

You can get this comprehensive unit study right here for a small fee. I hope that by charging a small fee for some of the lessons I offer will allow me to continue to offer other things for free, like my printables.


I welcome feedback on the study units, if you would like me to add something of interest to you, please let me know and I will do my best to include it in an upgraded version.

 Thanks for your support!

Wednesday, January 23, 2013

A child's creativity

Buttercup has been an imaginative, creative child for as long as I can remember. She loves to create worlds and goes as far as creating characters, storylines, music and everything in between. She tells me these fantastical stories that she imagines, creates and then lives in for a short time.

Once, she wanted to build a rocket ship, because she truly believed if she built it, she could fly to outer space. She bugged my husband until one day, he found a big cardboard box and off to the basement they went to build their rocket ship. Buttercup had already made the designs and had written instructions for her dad! He basically followed what she wanted, added some special touches and now we have a cardboard rocket ship in our basement.

Recently, she got a tiny little stuffed animal with big bug eyes (they're popular but I can't remember their name). Anyway, she named it Magic and decided that Magic needed a place to live. So she asked my husband to build Magic a home. Of course, he jumped on the idea (he loves this trait about her and wants to encourage her creativity). Again, with cardboard box in hand, off they go!

He made the cuts in the cardboard to Buttercup's specifications, and she decorated the little house. She took her time, thinking of every detail.

Making the windows
 
Door with a look out
 
Adding color and style
 
Hard at work

So proud!!

 How do you encourage your child's creativity?

Happy Homeschooling Adventures!

Tuesday, January 15, 2013

2nd Grade Art Lesson - Henri Rousseau

Buttercup and I like to do a lot of art projects in our homeschool and with my guidance, I let Buttercup choose the artists she wants to study. So off to the library we go in search of a book in The World's Greatest Artists series. Buttercup knew she wanted to learn more about Henri Rousseau (she was already familiar with his work). Much to our surprise, Rousseau is not one of the artists in the series. We did find another book about him that seemed geared toward children, so we checked that one out from the library. It turns out the book was more of a novel and while it did mention Rousseau it wasn't really what we wanted.

I turned to the internet for some information about Henri Rousseau and was able to come up with a pretty fun lesson plan for Buttercup.

Our Lesson Plan:
  • Research the Rousseau and his work
  • Find out where Rousseau is from, when he lived, what his artistic style is
  • Discuss with your child the life and works of the artist
  • Look at some of his/her art work on line
  • Choose a piece that your child would like to do on her/his own
  • With the appropriate materials in hand, let your child do her own artist inspired art work
  • If possible, visit a museum to see some of the artist's work in person.
Buttercup chose Tiger in a Tropical Storm.


We started out with three sheets of white paper. On the first one, Buttercup drew the backgroud scene, the trees, branches, and leaves.


She then colored that using oil pastels (presently her favorite medium). One the 2nd sheet of paper, Buttercup drew the tiger. And on the 3rd sheet, she drew the big leaves that are in front of the tiger.


We then put the whole thing together to make the tiger kind of pop out of the page while still being hidden by the big green bushes.


Here's a short biography about Henri Rousseau.

Henri Rousseau was a French painter born in 1844.
Rousseau was born to a poor family. His father’s debts even caused the family to lose their home at one point. Rousseau served in the army for four years before going on to become a customs officer at the edge of Paris. He worked until he was 49, painting on the weekends, until he could retire and focus fully on his art. He gave painting lessons, performed as a street musician, and did other odd tasks to earn enough money to live as he painted.

He was completely self-taught and this showed in his work. He wanted to paint flawless, realistic works but a naivety, a simplicity, persisted that he couldn’t shake. The traditionalist painters mocked him but he remained confident in his talent.

Many of Rousseau's paintings are depictions of tropical forests, fauna and flora. The problem is that Rousseau was never at any of the places he painted. All of his ideas came from books. This made his paintings unrealistic because, in his paintings, he uses animals in the same scene that would never be found in the same habitat. He also paints plants and fruit from different parts of the world together in one scene. For example, in Tiger attacking buffalo, Rousseau paints bananas growing upside down from trees.


All in all we had a lot of fun with this art lesson.

Happy Homeschooling Adventures!

Friday, January 4, 2013

Making time for Mom

As a homeschool mom, I find myself caught up in our school day with little or no time for me. I'm either I'm teaching, doing lesson planning, or some other activity with my daughter. Add to that cooking, cleaning and laundry. There just aren't enough hours in the day.

The result is a very tired, very frustrated mom with no outside contact or interests of her own.

Since I started homeschooling, I've given everything I've got to teaching my child. I've completely put my own life of hold because of it. As much as I love to homeschool, I realize that this attitude is not healthy for me or my daughter.

I've been thinking about ways to remedy this situation. I want to start small - baby steps - so I stand a chance of making it work.

Here are some ideas I came up with and I plan on trying them throughout the school year. Some of these can be done in 5 or 10  minutes with little planning. Others might require more planning and more time, even the help of the children and spouse.

  • Take an extra long hot shower or bath. I've actually done this and it's usually the only time I have in the day to be completely alone with my thoughts.


  • Take a walk around the neighborhood or a local park. If you have dogs, don't take them. This is not a walk the dogs outing. It's just for you to get out, get some exercise, get some fresh air and basically step away from your routine.

  • Go shopping. And I don't mean food shopping. I'm talking about going to the mall for an hour to just window shop, look at what's new and maybe even buy yourself a little something.
  • Grab a cup of coffee and just sit and people watch. It's amazing how much fun you can have watching people go about their lives.
  • Make a lunch date with yourself or with a friend.
  • Take a class. Do something that interests you whether it's learning to knit or learning a new language. It will make you feel good to do something that is just yours and you'll meet new people. And hey, you might discover a new passion or talent.

     
  • Get a massage. What better way to get away from it all and unwind than pampering yourself.
  • Get a manicure/pedicure
  • Meditate. Take 10 minutes or longer if you can, lock yourself in a quiet part of the house, put on some soothing music and do some meditation or relaxation exercises. Meditation doesn't have to be anything scary or complicated. Just doing some deep breathing and letting go of the day's stresses will go a long way.

 Moms need to take care of themselves so they can take care of their families. How do you make time for yourself and what do you like to do?

Wednesday, December 12, 2012

Settling Down for a Long Winter's Nap...

I want to need to take some time off.

........It's the holiday season and I want to thoroughly enjoy it without the added stress of keeping up the blog. I don't want to worry that I am not writing or that my heart is just not in my writing. It's not fair to you, my readers. I want to post the very best content I can, off course...I think that's every blogger's objective.


        ........Buttercup and I are done with homeschool for the year, except for a few odds and ends we are trying to get finish up.

                                                       .........I have lots of baking to do which I am looking forward to.


                 .........I need the rest, the down time, the sit-on-the-couch-and-watch-a-movie time.


                                       .........I want to prepare some homeschool material for January.


..........I have a new learning product that I've been working on and I want to put the finishing touches on it so it's ready to be launched at the beginning of the year.

So here are some incredible Christmas/Holiday ideas I've come across on the web to hold you over for the next couple of weeks. Some of them are my own, but mostly I just love to share what other bloggers are doing because it always humbles me to see the amazing creativity out there. So jealous....


Hi It's Jilly is doing a 31 Days of Christmas Music on her blog. How fun!


I'm sharing the recipe for the Best Chocolate Bark EVER!.........


.......and my Advent Calendar idea!

christmas mantel ideas

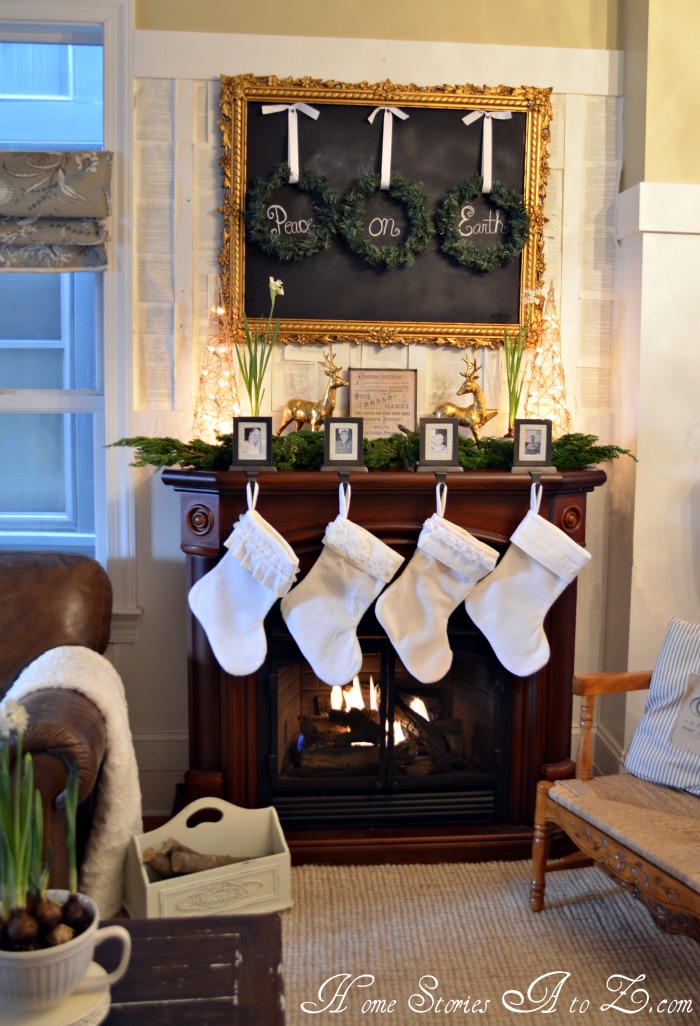
Take a look at this elegantly decorated mantle at Home Stories A to Z


Check out this front entrance over at The Passionate Home.


I'm loving this easy to make treat for the holidays from What's Cooking, Love?

I wish you all a wonderful holiday season! And I thank you from the bottom of my heart for being on this journey with me. Thank you for reading my ramblings...... Thank you for commenting......Thank you for sharing!

See you in January!
Adventures of a Homeschool Mom

Sunday, December 9, 2012

The best chocolate bark EVER!

I hate to cook...

But I love to bake... especially during the holidays.


I've been on a baking frenzy over the last few days.

Several years ago at a family gathering I had the best chocolate bark EVER. And I just had to have the recipe. Lucky for me, the person who made the bark happens to be an amazing person and shared her recipe with me. I've been making Mrs. Hammond's chocolate bark ever since. I make it every year about this time and I bring it to parties, work gatherings, my kids bring it to school and give it to friends. Everyone loves it. No joke.

I just finished a batch and I can't stop eating it. Before I share this super easy recipe I want to give a shout out to Mrs. Hammond. She is my cousin's wife's mother (try to figure that one out!). She has the best outlook on life of anyone I have ever met.   Seriously.   It is a total joy to know her because she is so genuine and so giving.

Even though we are not technically related, I feel like we are family. Do you have someone like that in your life? Someone who just makes your day better? I hope you do. It's wonderful.

So here is Mrs. Hammond's chocolate bark recipe. I'm sure she would want you to have it!

The best chocolate bark EVER

Ingredients
  • 2 sticks of butter
  • 1 cup of sugar
  • Saltine crackers
  • Chocolate chips
  • nuts (I use whatever I have, usually almonds or walnuts)

Directions
  • Line a cookie sheet with foil and spray it with PAM.
  • Cover the cookie sheet with a layer of saltine crackers.
  • In a sauce pan, melt the butter, then mix in the sugar.
  • Pour the butter and sugar mixture over the crackers.
  • Put it in the oven at 350 F for about 10 minutes until golden brown.
  • Remove from the oven and spread the chocolate chips over the crackers.
  • Turn the oven off and place the cookie sheet back in for about two minutes, just to melt the chocolate.
  • Use a spatula to spread the melted chocolate over all of the crackers.
  • Sprinkle with chopped nuts.
  • Refrigerate for at least 2 hours. I usually leave it in the fridge overnight.
  • Remove from the foil and break into pieces.

Enjoy! Enjoy! Enjoy!


Wednesday, December 5, 2012

DIY wood projects

I live in an area that was affected by Hurricane Sandy. We don't live any where near the coast, so we didn't suffer the same kind of damage that the folks living in coastal towns did. What we got was a lot of wind, rain, downed power lines and trees.

We lost two trees in our yard, but luckily neither fell on the house, so no damage done, except for losing the trees.

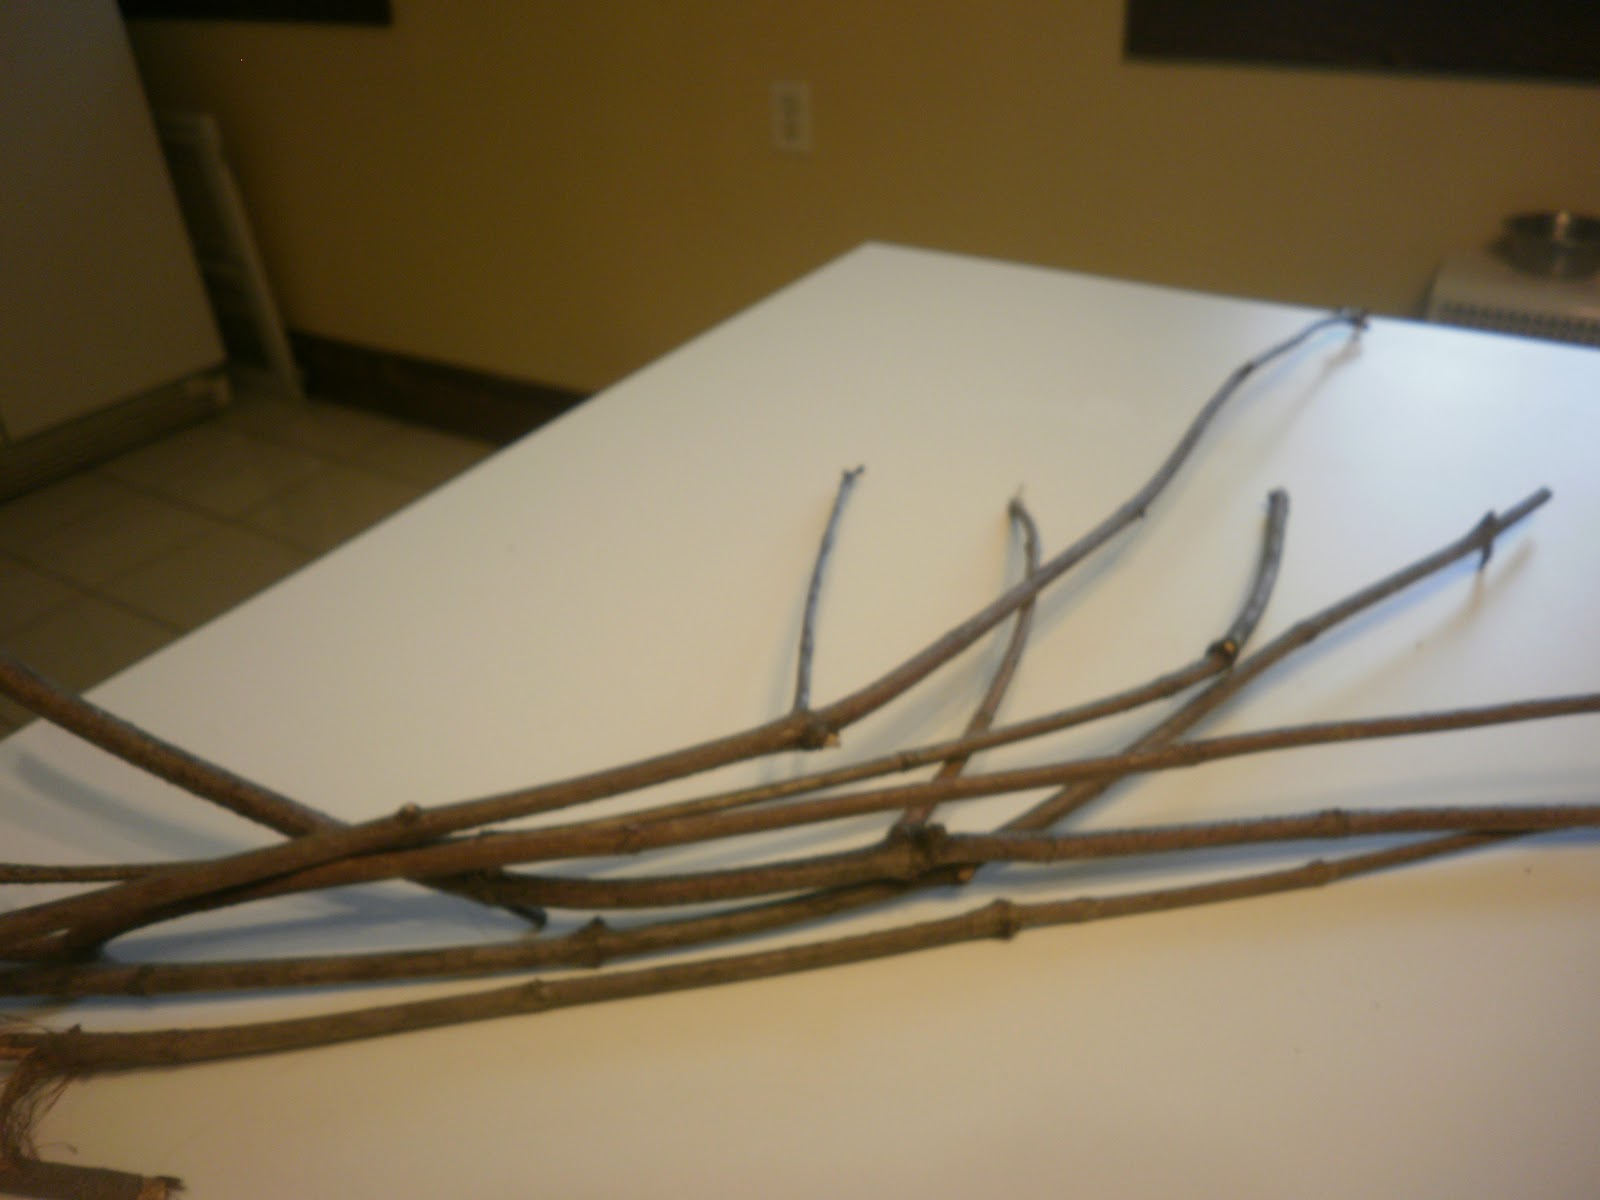
After the storm, my husband, a very kind neighbor and I went out to assess the damage and decide how to proceed. Armed with work gloves, goggles, and a chain saw, we spent the day cutting down the trees. Branch by branch we worked tirelessly. By the end of the day, we were all exhausted and were left with a huge pile of branches that would hopefully be taken away by the township.

After the dust settled, I started to think about the wood we had sitting in our backyard. What a shame to let all of it go to wasted. What could I do? I'm not much of a DIYer or crafter, but I was excited at the thought of recycling, upcycling, something-cycling...

I went to the place I always go to get inspiration and ideas.....

.........a place that has yet to let me down

                                      ..... a place where people share their ideas, their knowledge, their own stories

....yes, I went to the internet!

And there I found inspiration, ideas, how-to's, much more than I had hoped or expected. I was more excited than ever at the possibilities!

The next part was the tricky part....getting my husband to help! After all, I cannot cut all of that wood by myself. I've used a chainsaw but I'm not very good at it and don't totally feel safe.

I told my husband my ideas and he just chuckled, but went along with it. We headed outside to pick out just what we needed.

My first project was inspired by Kendra, over at Creative Ambitions. I found her on Pinterest and I love her blog. She made a photo ladder using tree branches and I just love the rustic look.

Here is my version of it (definitely NOT as good as hers, but I love it!)

Photo Ladder


I still need to add the bottom picture


Next, I used branches on the windows to hang decorations!!


Shadow box

I had a wooden box and thought I could do something with it. I gave it a shot and I'm pretty happy with the outcome. 
I started with this box
I got some branches

I used a glue gun and this is what I got


On my wall

I still have more branches in my garage waiting for the next idea. If you have any, let me know!

Happy Adventures!!

LinkWithin